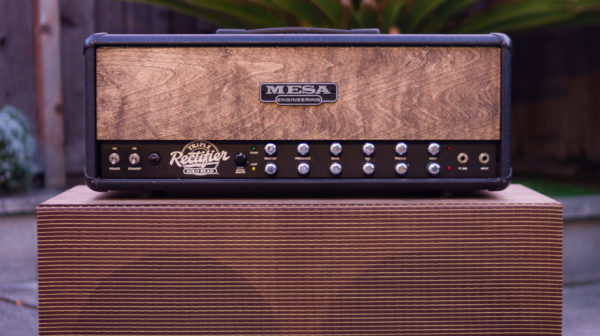
After parting ways with my trusty practice amp for a real tube amp head, I found myself in need of a couple new pieces of gear! As excited as I was to dive into the world of high end guitar amplification and effects, I quickly discovered how expensive gear can be. For example, a well-regarded guitar cabinet (e.g. a Mesa 2×12 Rectifier) sells new for over $700 USD and used examples only start around $500. Besides that, I was really eager for a couple new design projects!
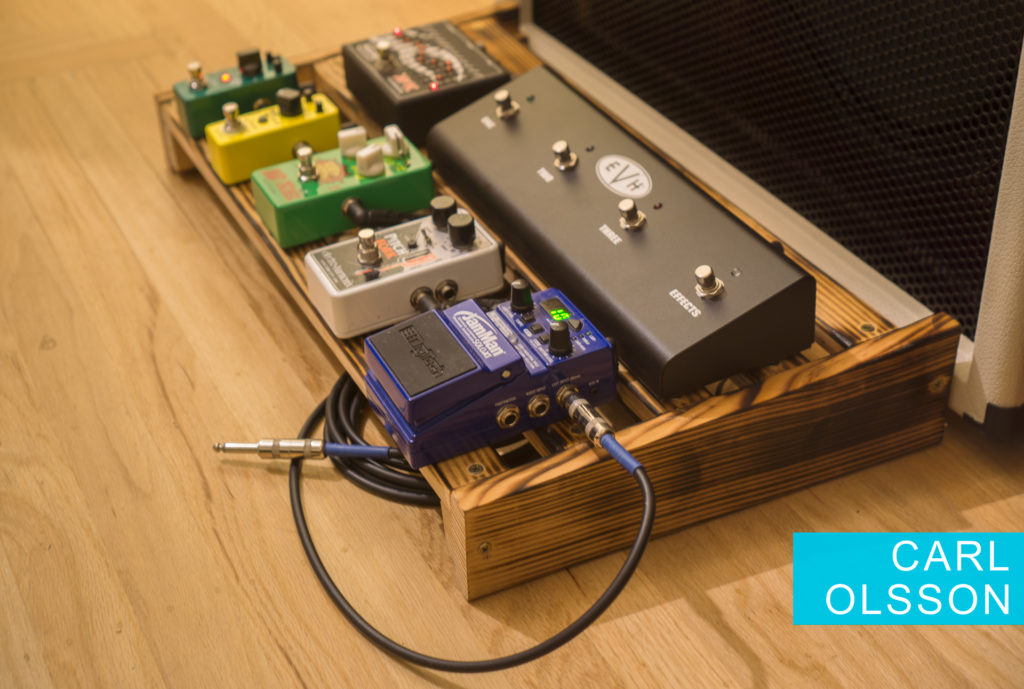
My first guitar related project was my pedal board. The requirements for a pedal board are pretty simple: support pedals and be strong enough to step on frequently. With these goals in mind I drafted a quick design for a pedal board that I thought looked contemporary. strong, and easy to build. In addition, I added an hinge at the rear so you can access the pedal cables by lifting up the “lid”.
I settled on Douglas Fir to build the pedal board out of. It’s a softwood species that reminds me of the forests I grew up in around Seattle. In addition to looking pretty good (in my opinion), the wood is very cheap and easily found! After gathering some lumber at my local lumber yard (thank you Bruce Bauer Lumber!), I got to work with a handsaw and cordless drill and constructed the pedal board in an hour or so.
After sanding the piece, I wanted to put a more striking finish on the rather subdued natural finish so I scorched the surface with my trusty propane blow torch and then finished with a spray on lacquer. I really like the way it turned out aesthetically+functionally and I love that I can quickly access my cables using the hinge!
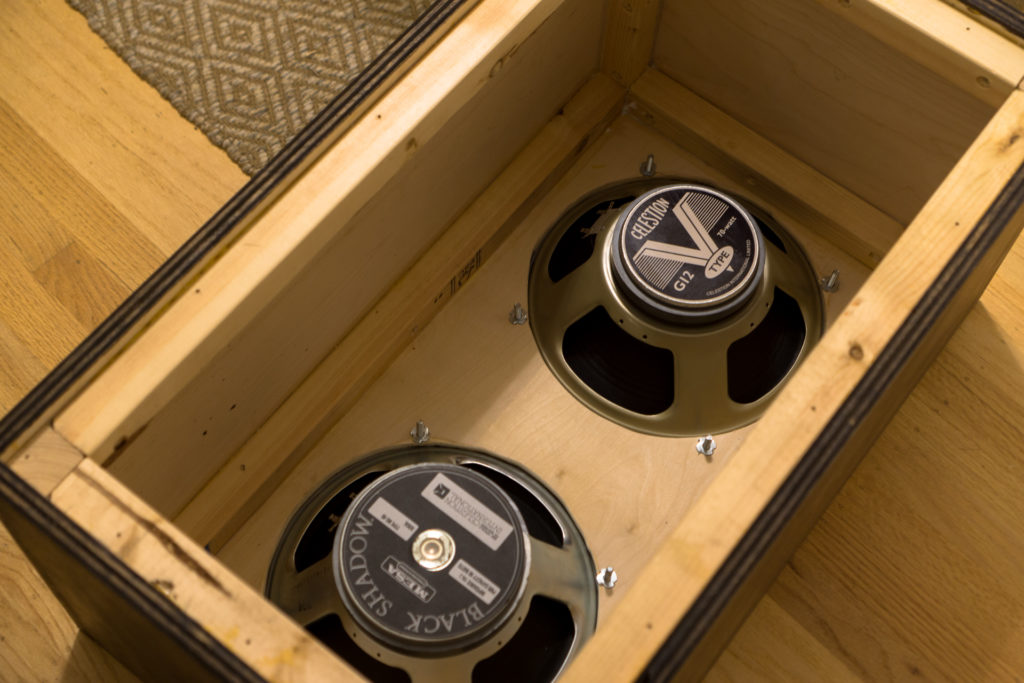
My second guitar related project was a speaker cabinet. I already happened to have guitar loudspeakers (Celestion Vintage 30 and Mesa Black Shadow C90) so I thought it would be a fun, cheap-ish project to try my hand at. After trying a couple speaker cabinets and reading way too many form posts, I narrowed my search for a guitar cabinet inspiration to three options: The Dr. Z Z-Best 2×12, Port City Wave 2×12, and the Mesa Boogie Rectifier 2×12.
These three cabinets differed greatly in their design, from the way the transmit sound to their construction. The Dr. Z cabinet is a ported speaker enclosure with rectangular front-firing ports while the Port City is a transmission line speaker, which sort of looks like a seashell or horn in cross section. Finally, the Mesa Boogie cabinet is simply a sealed box. Here’s a list of pros vs cons of the speaker designs (in my opinion)
- Dr. Z Z-Best 2×12
- Pros
- Ported design could allow punchier, more dynamic bass
- Cons
- Unsure if the speaker would sound good at close distance and bedroom levels
- Complicated design that uses lots of plywood
- Ports could potentially produce noise at high volumes
- Pros
- Port City Wave 2×12
- Pros
- Transmission line design is really interesting and could allow the sound to be reflected upwards (good for near-field listening i.e my bedroom)
- Cons
- Simple design but hard to construct without a table saw (requires precise miter cuts thru plywood)
- Could be too loud
- Pros
- Mesa Boogie Rectifier 2×12
- Pros
- Proven design used by many artists I like
- Easy to build
- Was designed for use with a Mesa Boogie Rectifier amplifier head
- Cons
- Need to carefully seal the enclosure
- Pros
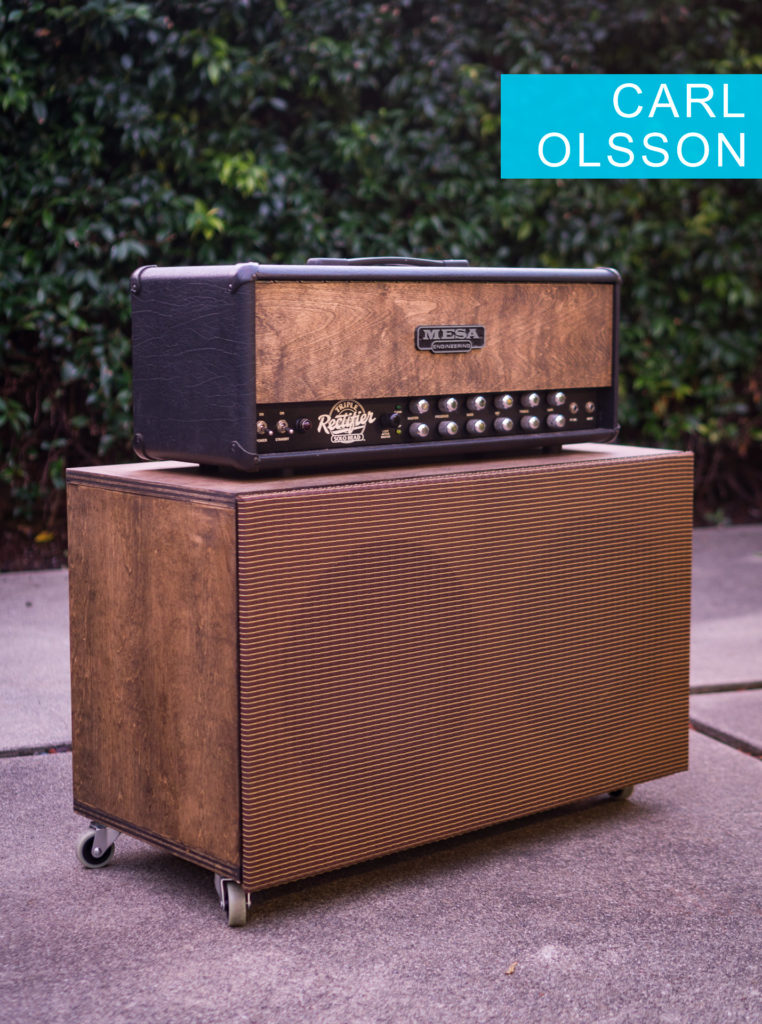
Since I own a Mesa Boogie amplifier head and had extensively play-tested the matching Mesa Boogie cabinet I decided to emulate its design. In addition, I realized I could make the rear panel convertible between closed-back and open-back to emulate some vintage tones and widen the cabinet’s sonic palette.
I used the same dimensions as the Mesa Boogie website lists (which I verified with an actual cabinet). I used birch plywood for all the paneling, 1/2″ for the front and rear and 3/4″ for the top, bottom, and sides. In addition, I used 2×2″ pine to brace the speaker and silicone sealant around the interior of the cabinet to make it air-tight.
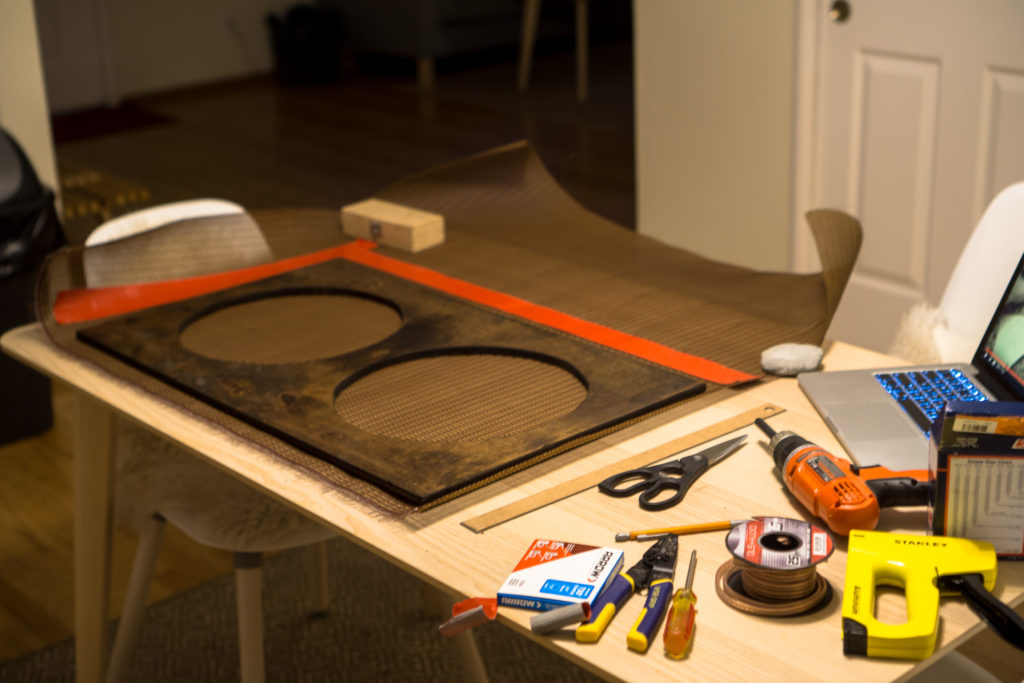
Construction was pretty straightforward and took a few hours. After building the box and sealing it, I stained it with a walnut stain and applied tung oil the day after. Cutting the circular speaker baffles was definitely one of the trickier parts and ended with me taking a quick trip to Home Depot to buy a jigsaw.
Surprisingly, upholstering the speaker grill with speaker grill cloth ended up being the hardest part of the whole project! I spent about an hour wrestling with the very stiff speaker grill cloth and a staple gun and working up a sweat. I’m glad I did though, I think the grill looks pretty great!
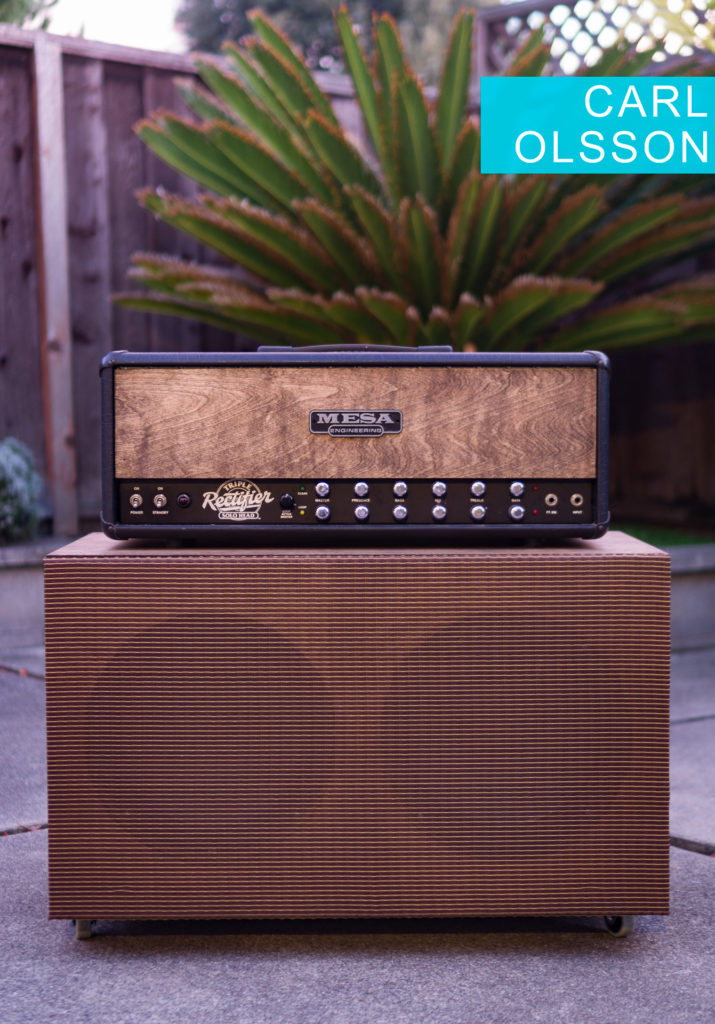
After trying out an L-Pad (a passive attenuating device), I settled on a basic parallel wiring of the two 12″ 16Ω speakers for a total impedance of 8Ω without the L-Pad. After playing with it for about a month, I’m still impressed by the way the speaker cabinet sounds and looks. Let me know if you want me to build you one!